Related Links
Integrate Veeam® with IDrive® e2 for NAS backups
Veeam® Backup & Replication provides reliable protection for unstructured data, including file shares and NAS devices. By integrating Veeam® with IDrive® e2, you can leverage secure, scalable, S3-compatible cloud storage for your NAS backups, ensuring data durability, flexible archiving, and easy recovery.
Prerequisites
Before you begin, ensure the following:
- An active IDrive® e2 account. Sign up here if you do not have one.
- A bucket in IDrive® e2. See how to create a bucket and assign public access to it.
- Valid Access Key ID and Secret Access Key. Learn how to create an access key.
- A valid Veeam® account.
Configure Veeam with IDrive® e2 for NAS backup
Add a NFS File Share in Veeam®
- Launch Veeam® Backup & Replication.
- Go to Inventory > File Share (Unstructured Data).
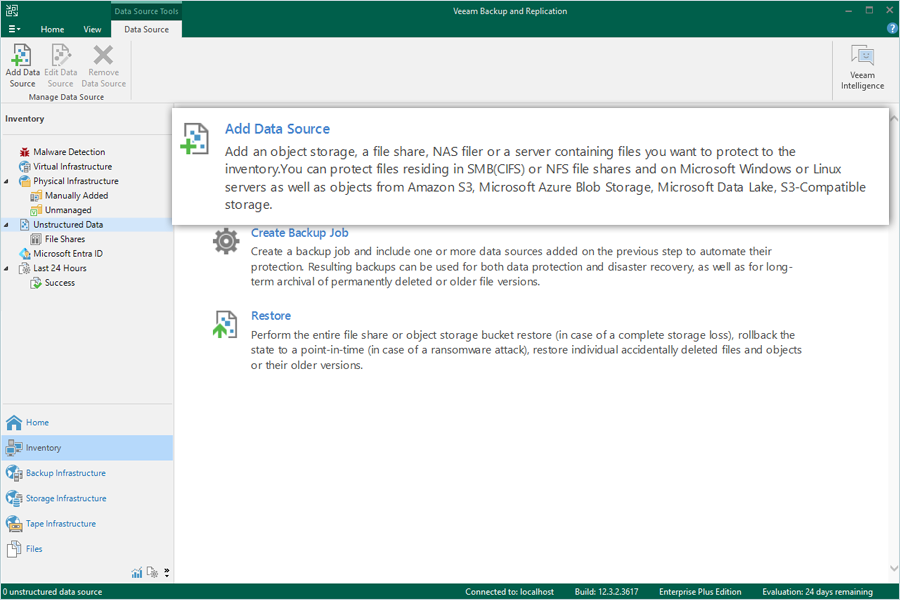
- Click Add Data Source.
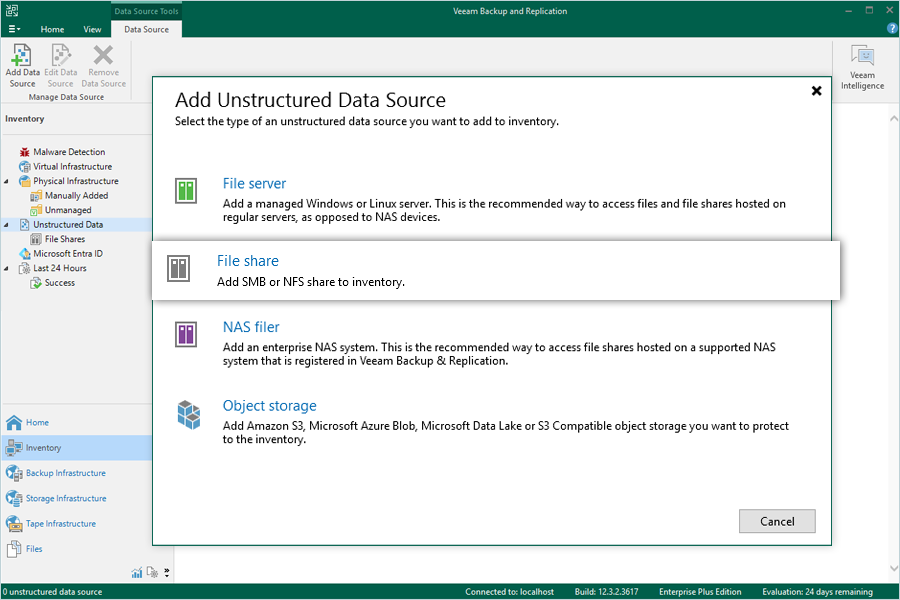
- Select File Share.
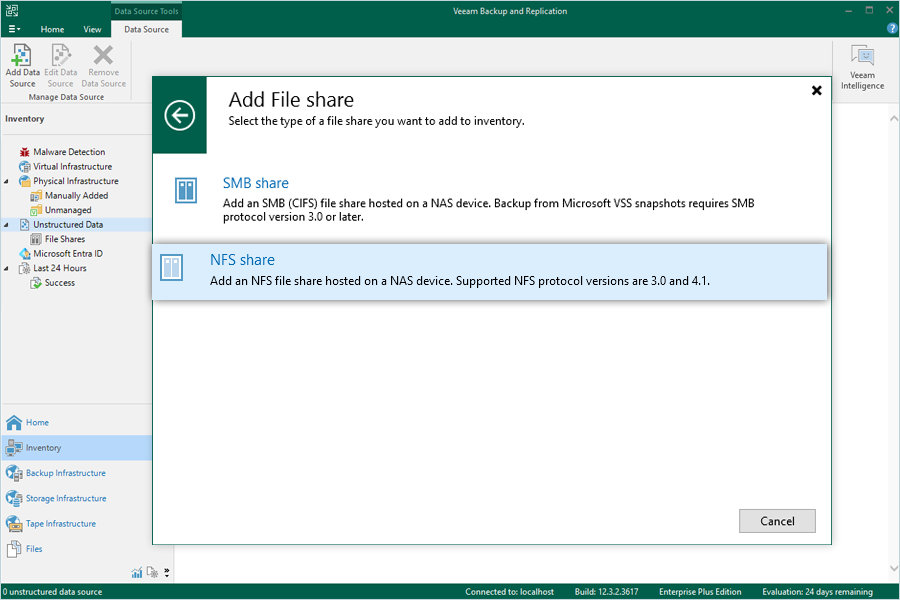
- Choose NFS Share.
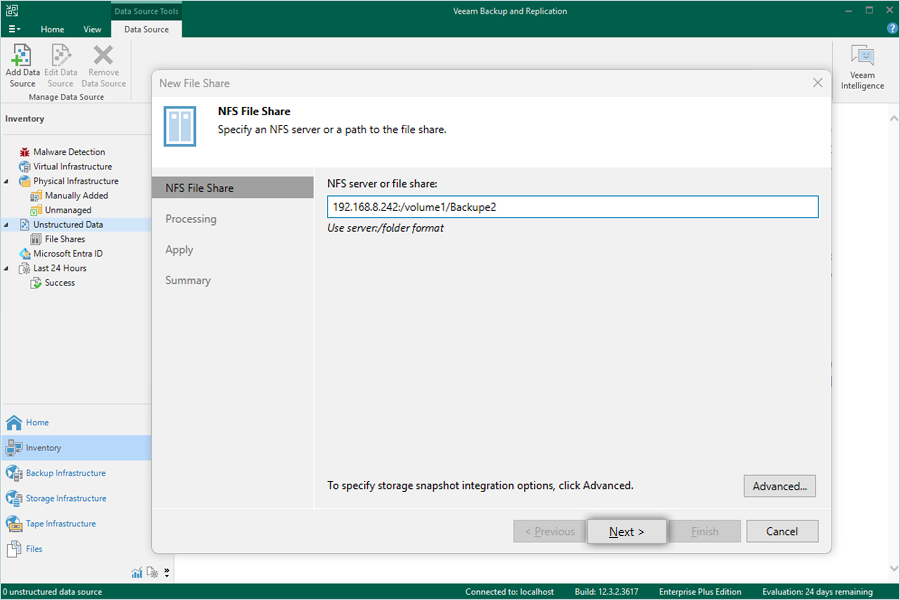
- In the NFS File Share window, enter your NFS Path (NAS Server and Share Folder), then click Next.
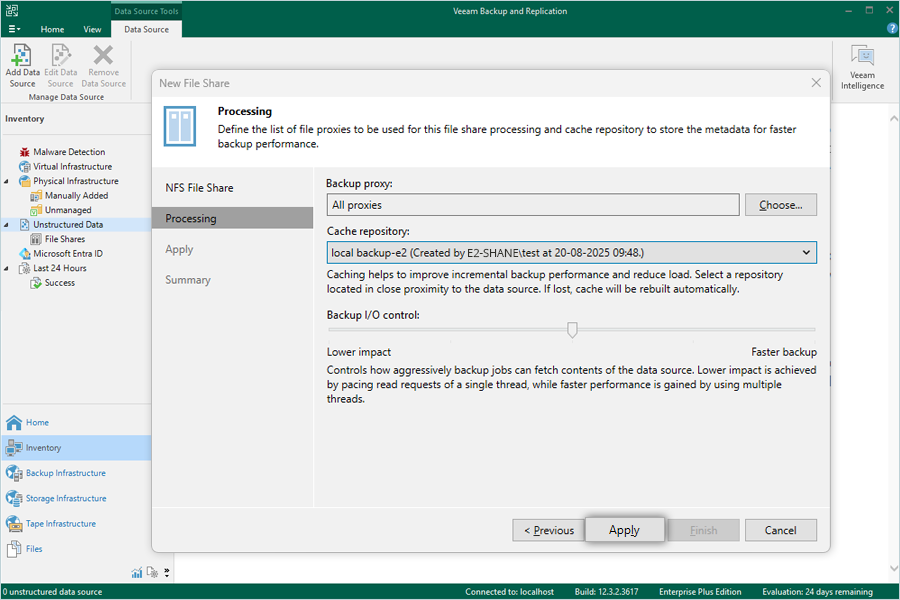
- Select your local backup repository and click Apply.
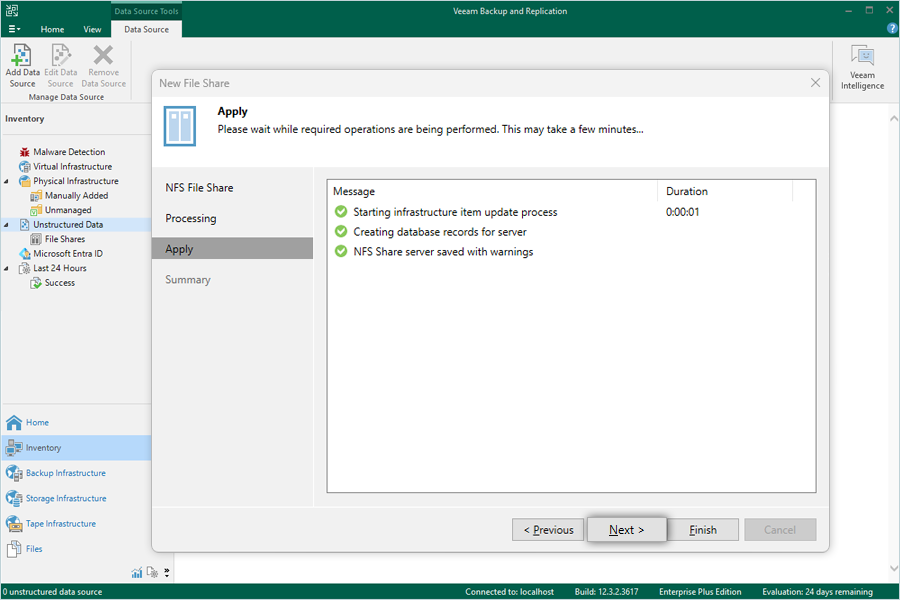
- On the Apply page, review the details, then click Next.
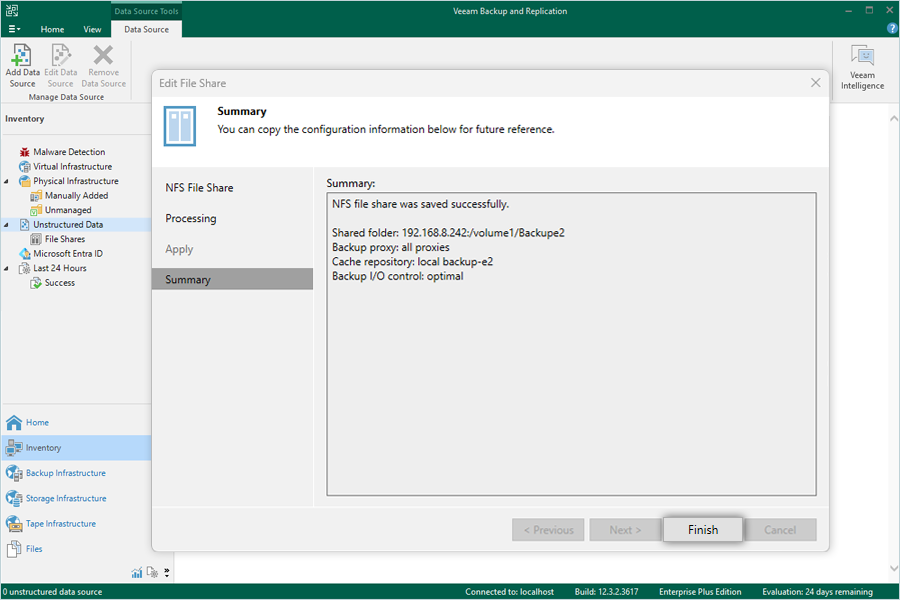
- On the Summary page, review the details and click Finish.
Create a Backup Job for a NAS Device using IDrive® e2 Repository
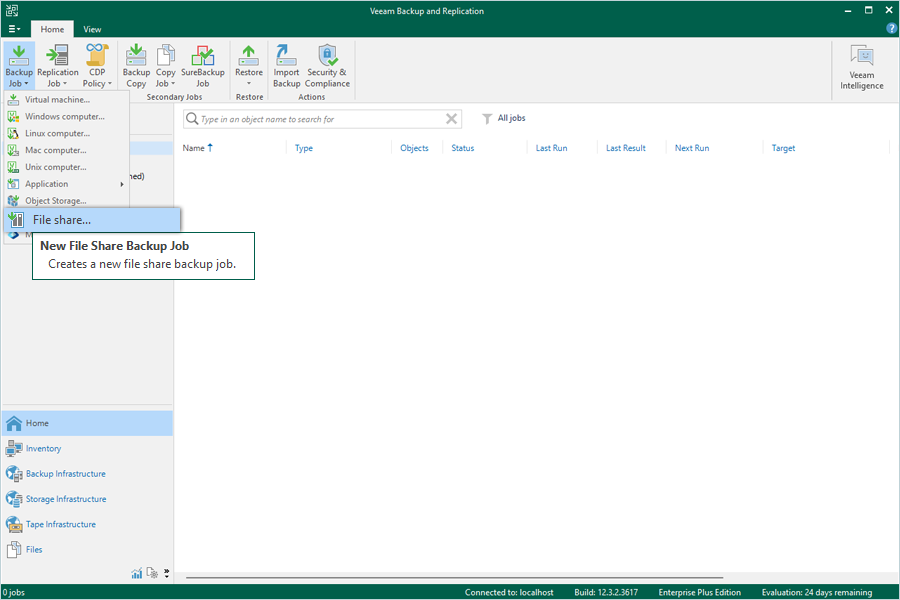
- Go to Home, click Backup Job > File Share.
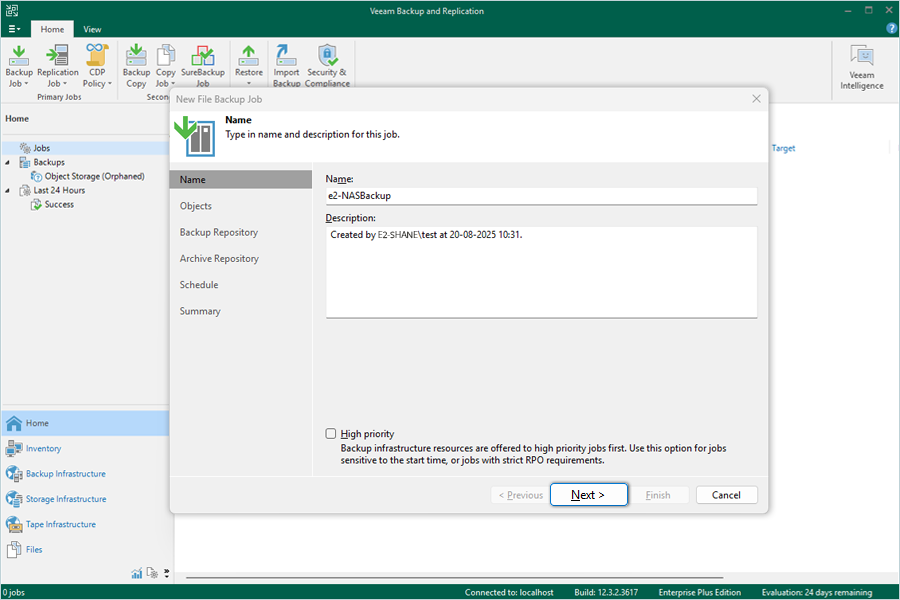
- Enter a name for your backup and click Next.
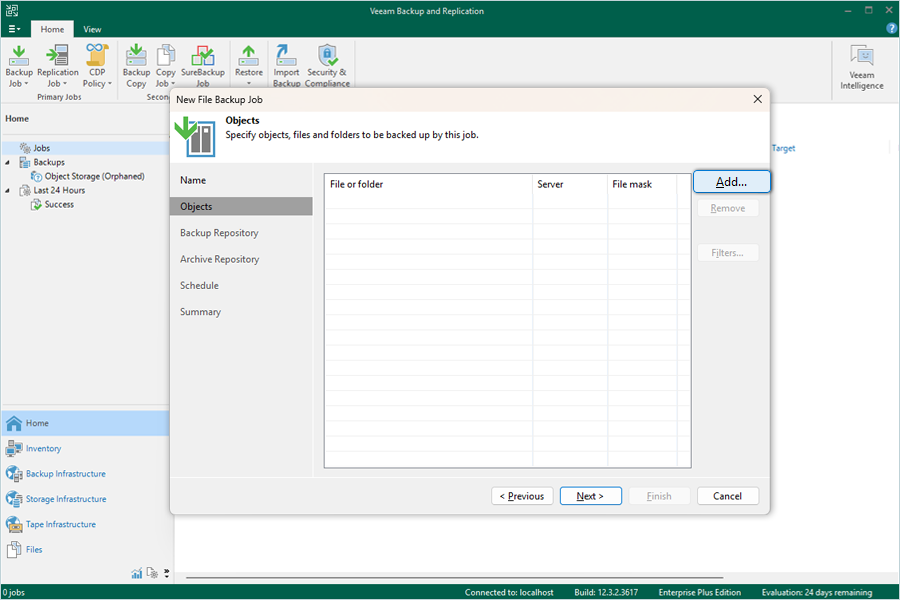
- In the Files and Folders tab, click Add.
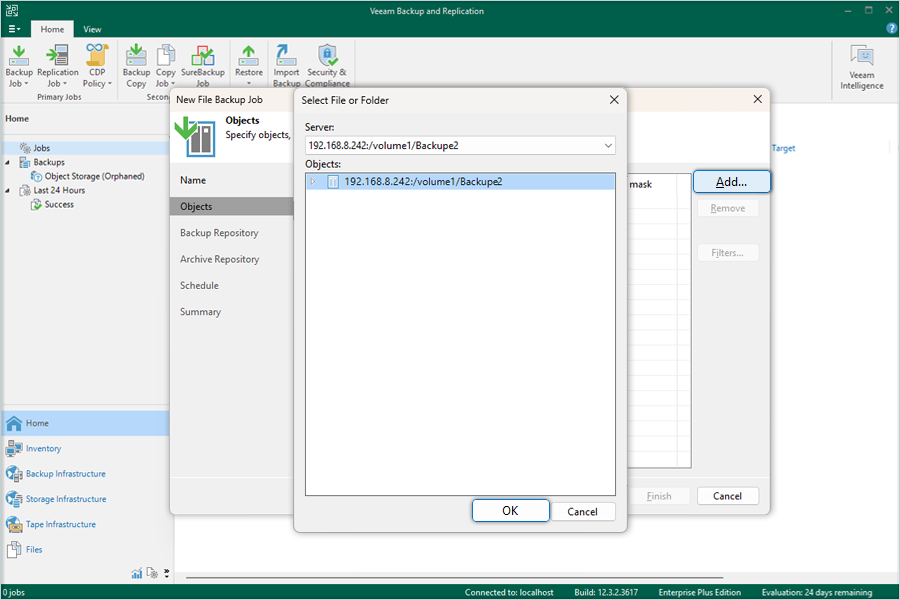
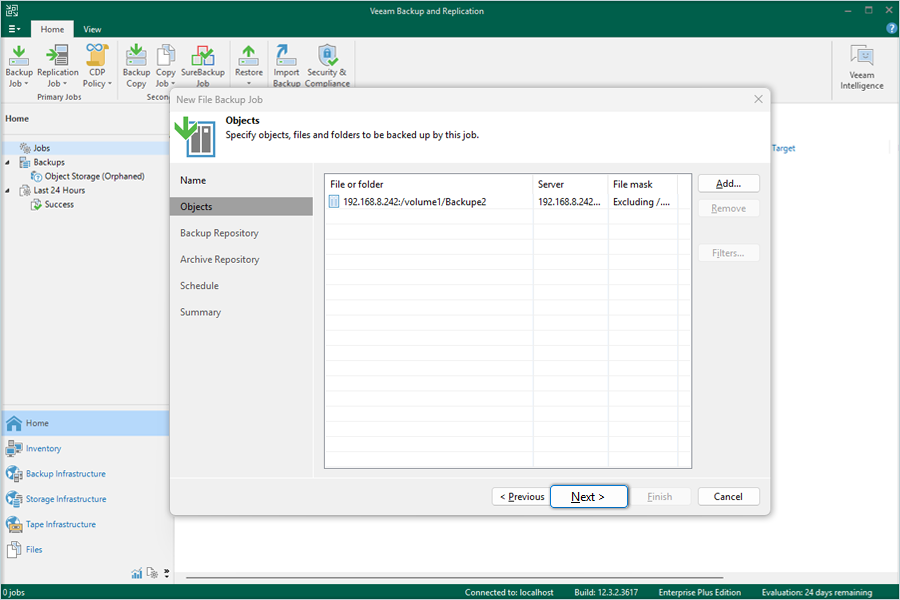
- Select the folder(s) to be backed up from the NAS File Share, then click OK.
- Click Next to continue.
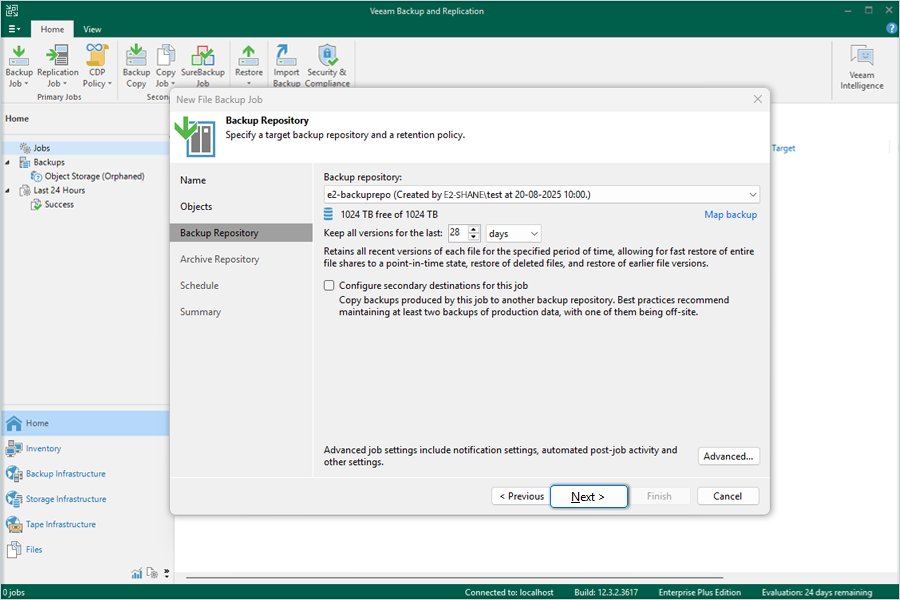
- Select the IDrive® e2 Backup Repository and click Next.
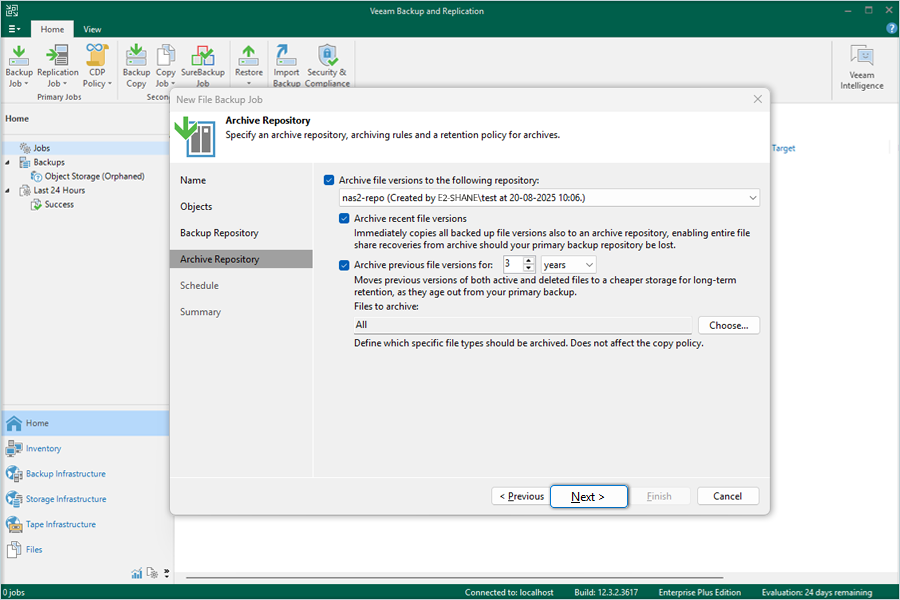
- In the Archive Repository tab, configure the following options and click Next:
- Check the Archive file versions and select the IDrive® e2 repository for archiving (This repository should be different).
- Check the Archive recent file versions to immediately copy all backed up file versions to the archive repository.
- Check Archive oldest file versions to an appropriate value.
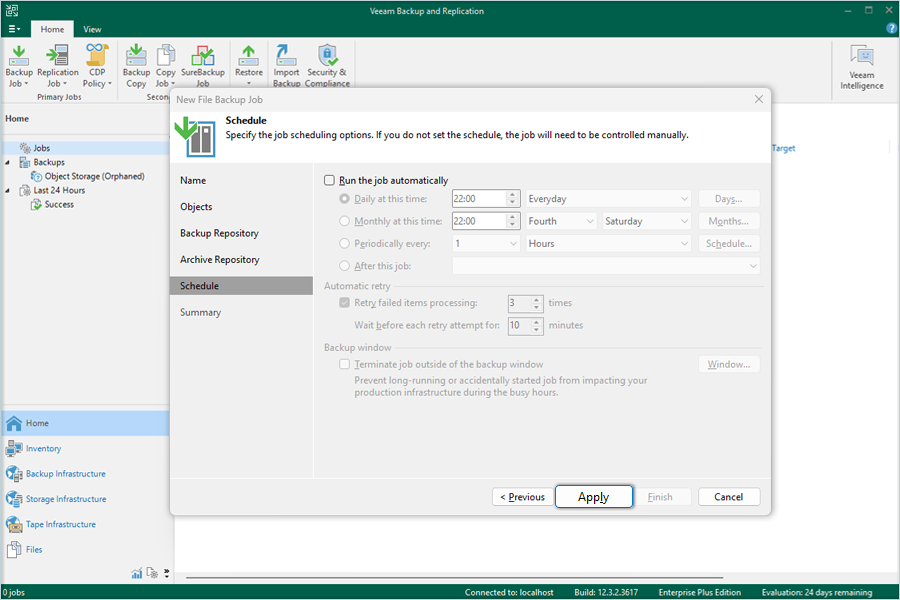
- Configure the Backup Schedule as required, then click Apply.
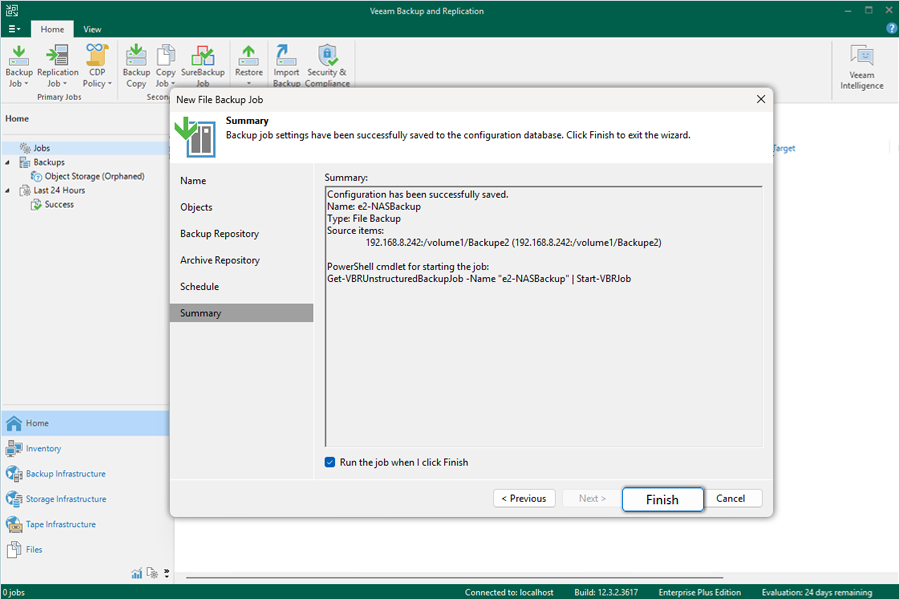
- To start the job immediately, check Run the job when I click Finish and click Finish to create the backup job.
Note: Data restoration is handled by your specific backup solution provider and is affected by multiple variables that are unique to your environment. For application-related enquiries/support, it is strongly recommended you seek guidance from the technical team of your backup solution provider.